Solestyles Boutique Digital Transformation – Part 3 – Unlocking Model-Driven Apps

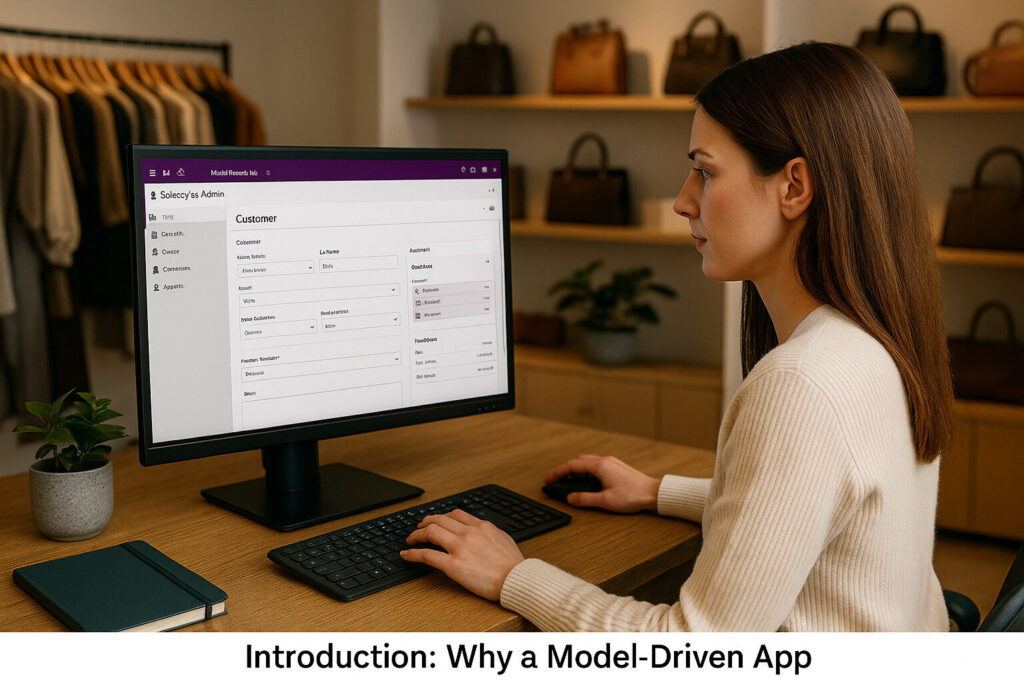
Solestyles Boutique’s Digital Transformation – Part 3 – Unlocking Model-Driven Apps Introduction: Why a Model-Driven App? Although the Canvas App empowered shop-floor staff to browse inventory, capture orders and assist customers at pop-up events, managers and administrators needed a complementary solution offering structured forms, guided processes and embedded analytics. The Model-Driven App delivers exactly that: “a declarative, metadata-driven experience built on Microsoft Dataverse that emphasises robust data modelling, rich user interfaces and process automation all achieved with minimal custom code.” By adopting a Model-Driven approach, Solestyles Boutique maintains complex relationships across Products, Orders, Customers, SpecialRequests and InventoryAdjustments tables, ensuring referential integrity and automatically deriving roll-up metrics. Business Process Flows shepherd critical workflows whether approving supplier markdowns or onboarding new partners through multi-step, conditional stage-gates that enforce business rules at each juncture. Role-based security configurations grant managers visibility over every order while assistants only see their own, thanks to table permissions and field-level security. At the same time, embedded dashboards surface essential KPIs, stock-turn rates, average order values and seasonal trends directly within the app, removing the need to switch to a separate BI portal. In this post, I’ll guide you through building the Solestyles Model-Driven App from the ground up; defining tables and relationships in Dataverse, crafting custom forms and views, implementing business logic with rules and flows, and embedding rich dashboards that bring your data to life. Whether you’re an IT professional transitioning from spreadsheets or a business user looking to tame complexity with low-code tools, you’ll see how Model-Driven Apps can become the administrative backbone of your organisation. Let’s get started. Setting Up Your Solution & Model-Driven App Rather than splinter multiple solutions across your environment, the optimal approach is to keep both your Canvas and Model-Driven apps in a single solution container – Solestyles Boutique (created in part 2). This single repository ensures consistent Application Lifecycle Management (ALM) practices, simplifies environment migrations and centralises governance. Locate or Create the Solution Container Open the Power Apps Maker Portal – Head to https://make.powerapps.com and sign in. Check for “Solestyles Boutique” – In the left-hand pane, click Solutions. If Solestyles Boutique appears, select it and proceed to 2.2. If not, click New solution and enter: Display Name: Solestyles Boutique Name: solestyles_boutique Publisher: Solestyles Publisher Version: 1.0.0.0 Click Save to create the container. Having a single solution container means that every component; Canvas App, Model-Driven App, Power Automate flows, and even Power Pages; travels together through development, test and production. Add Your Model-Driven App Open “Solestyles Boutique” Solution – In the Solutions list, click on it. New Model-driven app – From the command bar, select New → App → Model-driven app. Configure Basic Settings Display Name: Solestyles Admin Portal Name: solestyles_admin_portal Keep default client options (responsive across devices). Select Create – Power Apps launches the App Designer, ready for navigation setup. Because the app resides inside our main solution, it automatically inherits environment variables, connection references and versioning settings that were defined earlier for the Canvas App. Design the Sitemap The sitemap defines the user navigation in your Model-Driven App: In App Designer, choose Sitemap. Add Areas: Sales (icon: 🛒) Inventory (icon: 📦) Customers (icon: 👥) Under each Area, add Groups and Sub-Areas pointing to tables: Sales → Orders, OrderLines Inventory → Products, StockAdjustments Customers → Contacts Save and Publish the sitemap to make navigation live. Reuse Environment Variables & Connection References Since you already added these when setting up the Canvas App, simply confirm: Environment Variables DataverseURL SharePointSite PaymentGatewayKey Connection References CR_Dataverse CR_SP CR_Payment No need for new variables or references unless introducing new integrations like Teams webhooks or custom connectors. Best Practices One Solution, Many Apps – Bundle Canvas, Model-Driven, flows and pages in Solestyles Boutique. Consistent Naming – Use prefixes (app_, site_, flow_, env_) for clarity. Document in Solution – Leverage description fields on each component to explain purpose. Version Control – Increment solution version on each publish and commit the exported ZIP to your repo. By centralising your components in one solution and reusing configuration artefacts, you streamline ALM, reduce duplication and position Solestyles Boutique for rapid future enhancements. Dataverse Entity Modelling A solid data model is the foundation of every Model-Driven App, and for Solestyles Boutique I crafted an extensible schema in Microsoft Dataverse that accurately maps products, orders and customer entities along with their interdependencies. By defining dedicated tables for each core object, establishing lookup fields to enforce referential integrity, and implementing advanced Choice, Calculated and Roll-Up columns, I created a single source of truth that automatically derives and summarises vital business metrics. This design not only streamlines data capture and consistency but also delivers real-time insight into sales performance, order status and customer activity without the need for additional workflows. Core Tables Overview Beginning by reviewing the five primary tables: Products – Catalogue of footwear and accessories, with fields for Name, SKU, Category, UnitPrice and InStock. Orders – Header records capturing OrderNumber, Customer (lookup to Contacts), OrderDate, DeliveryMethod and Status (choice column). OrderLines – A child table linked to Orders, detailing each line item with Product (lookup), Quantity and LineTotal (calculated). Contacts: Customer records, storing FirstName, LastName, Email, Phone and Address. InventoryAdjustments – Logs manual stock changes, with fields for Product (lookup), AdjustmentType (choice) and QuantityDelta. Configuring Lookups & Relationships To maintain referential integrity across our Dataverse tables I defined precise lookups and leveraged the platform’s built-in relationship management. In the Orders table, I added a lookup field called Customer (schema name crb_Customer) that points to the Contacts table. This ensures every order is explicitly tied to a contact record, making it trivial to fetch customer details without manual joins. Moving to the OrderLines table, I created two additional lookup fields: one linking each line item back to its parent Order, and another referencing the Product it represents. As soon as these lookups are in place, Dataverse automatically provisions the corresponding N:1 and 1:N relationships. You can confirm these associations under each table’s Relationships tab where you’ll
